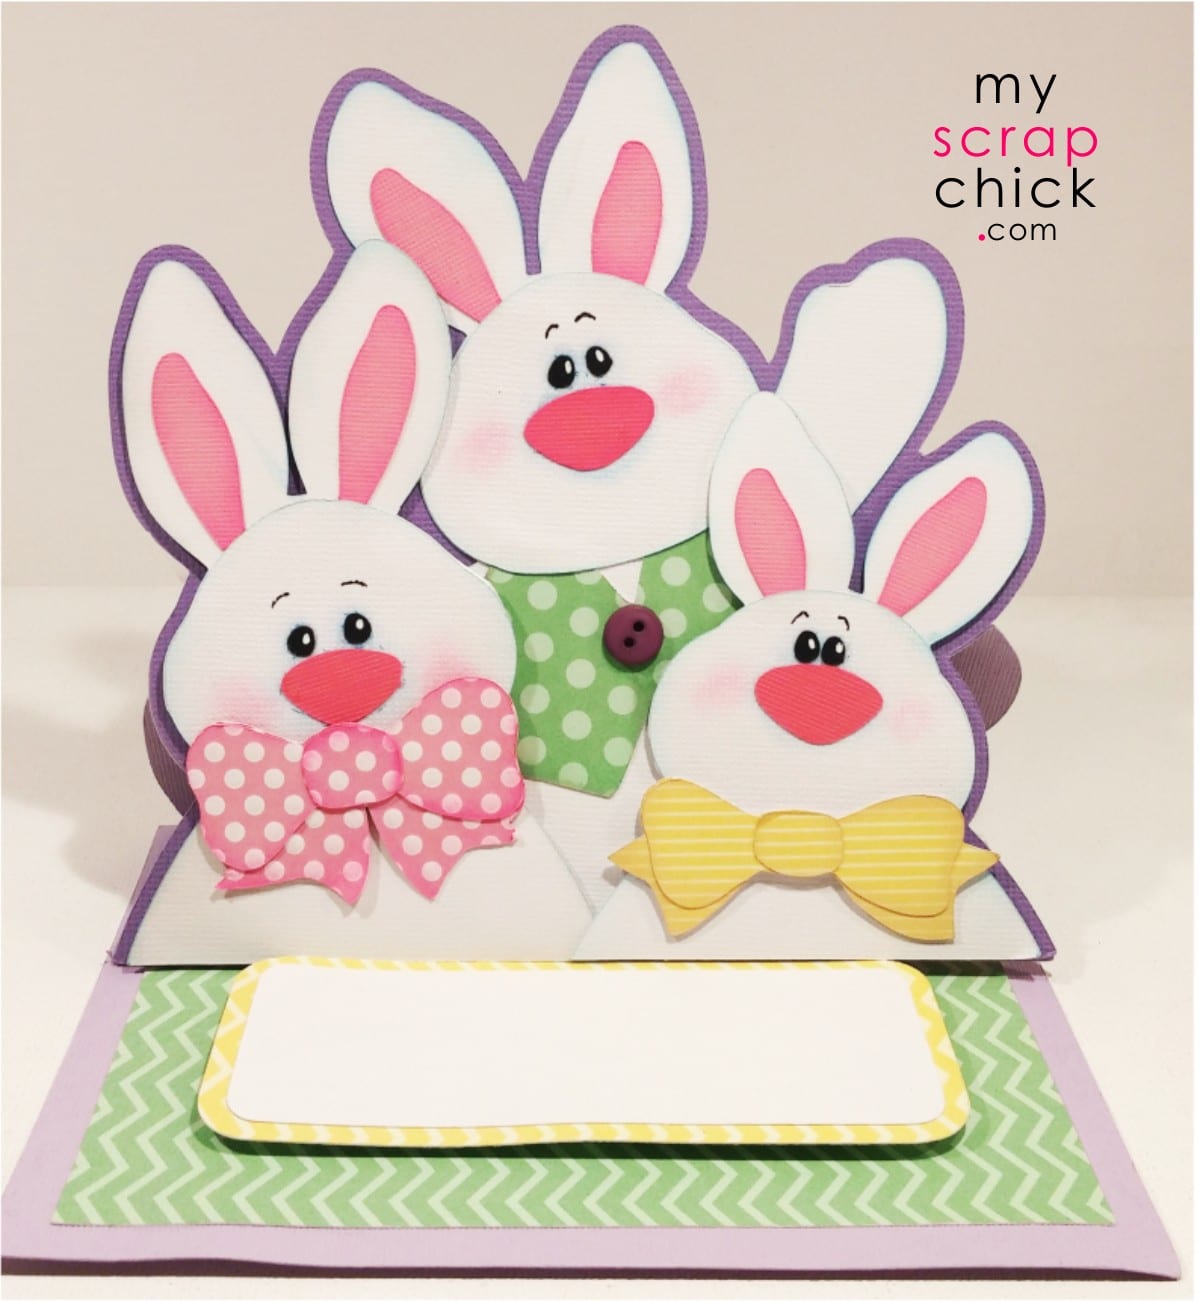
Have fun creating these cheerful, slightly silly Bunny Rabbits for your Easter cards. They're all decked out with colorful bow ties and the guy in back has on his spiffy Easter vest with a button. Check out the tutorial below to see how quick and easy these go together.

Assembling Front of Bunny Rabbits Easel Card

You will notice small dash lines on the face of each bunny. These are guides for placing the eyes and nose on each. It also makes it much easier for adding cheek blush and shading around the eyes and nose before actually gluing them on.

Bunnies are created as individuals. Glue on their eyes, noses, inner ears along with bow ties and vest. Add a real button to the vest or cut the one provided. Bows are 3 layers for 3D effect.

Once each bunny is assembled add them to the card front layer starting with the middle bunny. You will notice there is a slightly larger margin around the characters, but the bottoms of each piece will line up flush with each other.

Then add the bunny on left and lastly the one on right.
Add pop dots to back of the 2 front bunnies for added dimension.
Assembling inside layers

Glue lining to inside of card leaving a slight border margin.
Then glue message layers together.
Then glue message layers together.

Add pop dots to back of message panel and attach to inside of card.
How to fold base of card and attach front layer.

Fold card base along score lines. Both lines will fold forward.
Add glue to bottom 1/4 of card as shown (on left) then
attach the card front, lining up along edges. (Shown on right)
Add glue to bottom 1/4 of card as shown (on left) then
attach the card front, lining up along edges. (Shown on right)

Photos above show what the easel card will look like from the side and back when slightly opened.

Easel cards fold flat for mailing. When opened the card is folded forward and the bottom edge tucked behind the message panel.
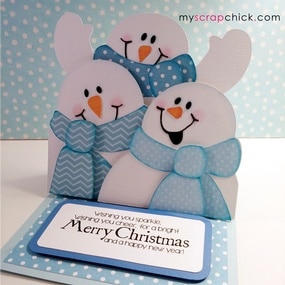
If you like the Bunny Rabbit Easel Card you may like the
Snowman Trio too.


love the tutorial...love this card
ReplyDelete