Perfect for Easter and Spring Treats. Maybe even a Carrot Cake mix. This pretty and whimsical carrot box is guaranteed to bring smiles.

 |
| 1. Cut out the base box pattern. |
 |
| 2. Starting with the lid, fold all your score lines up toward the middle. Start gluing tabs to adjacent pieces to form walls. Your lid is complete when all tabs are attached. |
 |
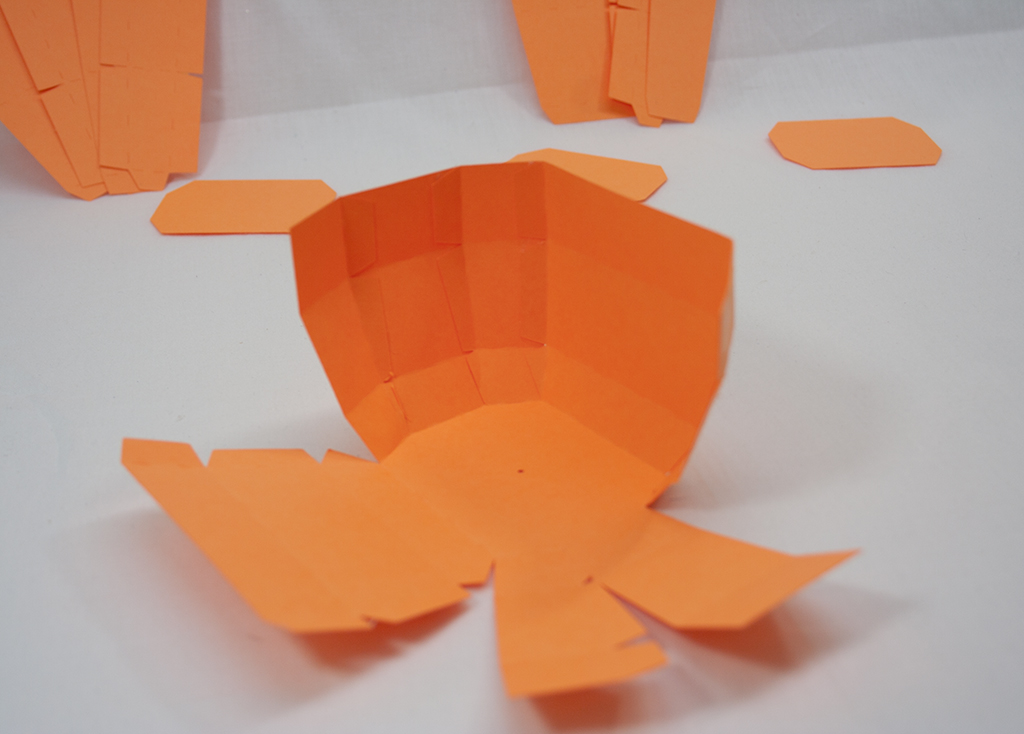
| 3. Move on to the bottom part of box. You will have two wide side pieces and six slim side pieces. Starting with three slim pieces, you will notice one does not have tabs and two do. Glue the piece without tabs in between the two with tabs as shown below. This gives the bottom section of box a slight curve to resemble a carrot shape. Do the same for the other three slim pieces. Glue the two pieces you have just made to the two wide side pieces you have left. |
 |
| 4. Completing step 3 gave you your bottom sides. Now fold up the tabs along the bottom and glue on the piece for the box base. |
 |
| 5. Add your box inside base for a finished look. |
 |
| 6. Moving back to your lid, it is time to attach the stalk. Fold along score lines for stalk but before gluing the tabs on the stalk you will want to insert a "brad" through the holes shown (in the stalk and on top of lid) to hold the stalk securely to the lid. . |

 |
| Your base carrot box is now complete. Add the included outside layers in a decorative paper of your choice and embellish as desired. |
Our design team fell in love with this box and they did up several variations using different papers and adding a variety of ribbons and embellishments.

view the product page for the
Carrot Box
Carrot Box


No comments
Note: Only a member of this blog may post a comment.