Els Beautiful Paper Succulents

Paper succulents are all the rage right now. When I saw these beauties from Els I thought they were real. It took me a few moments to realize these were actually paper! I was thrilled.


 From the Art of Els Schutte

  Els used the flower petals from Cut Flowers and the new Flower of Hope to create her arrangement.


The petals can be enlarged or reduced to create a variety of sizes for a natural look. I'm loving Els' arrangement. It works with a wide range of color choices in greens, blues, cinnamon and plum.


You could add these paper succulents to small terra cotta pots or old wood boxes. Actually almost any container would work. Maybe even create a summer wreath for your front door.


 This would look so beautiful on my coffee table. I'm also thinking I will add a pot of succulents to my computer desk.


These are the Flower Cutting Files Els Used....
Flower of Hope Svg cutting files Cut Flowers SVG Cutting Files 


The Poinsettias can be used for the tall slender leaf succulent...
Svg cutting file for paper succulents 

See all the flower cut files that can be used for your paper succulents...

Daisy Garden Svg cutting files  Svg cutting files for paper succulents.  paper succulents svgcut files


 Have you tried making your own paper succulents yet? We would love to hear what you think about this latest trend in paper flowers in the comments below.


6 Fun to Fancy Easter Card Ideas

 Sharing 6 card designs to make and share this Easter.

Sarah at Paper Tree


Sarah happily discovered the Easter clipart on myscrapchick. "They are absolutely gorgeous, full of colour and print beautifully in any size that you need. "  Sarah shares a lot more details on her blog. Hop on over there for more.
 Svg cutting files and clipart: Easter Chicks -  Easter Bunnies - Trifold Cards 
 
___________________________________________


Sue at Sue's Stamping Stuff

"I used Kraft cardstock from Michael's for my bunnies...adding a little brown chalk around the edges and then dressing them in their Easter finery." 
Svg cutting files:  Bunny Rabbits Easel Card

___________________________________________


Shirley at Scrappy Sam Designs

Shirley turned a shape card into these
Beautiful Easter Egg Ornaments
Svg cutting files used: Egg Card with Scallop Layers.
___________________________________________
 

Art of Els Schutte

Easter Bunny Box in a Card 
Svg cutting files used:
Bunny Rabbits Easel Card
 
___________________________________________ 


Julie at Ready Set Stamp

Watch as she shares how to make these cards in this video
 
 Svg cutting files:  Spring Faces
 
 ___________________________________________

And Special Thanks to Christine Dearinger

for sharing her Church in a Card creations with us on facebook.
 
Christine said this file is one she has used for weddings, christenings and sympathy cards. She decorates them in a fitting way for each occasion. We think both of these would be beautiful Easter cards as well.

___________________________________________

Hope you pay a visit to these ladies blogs and leave a comment
for them. Your encouraging words are always appreciated.

Onesie Gift Boxes and Baby Shower Cards

 
  A Onsie Giftbox becomes a cute way to present a gift.
Later it can be used to store little keepsakes for the new baby.


Our design team got very creative with these onesies. Check it out.


Sue created a Onesie Gift Box above and the Onesie Easel Card below as a welcome gift for a new family member. By adding camo paper she felt confidant the new Dad would love this set.


 Julie at Ready, Set, Stamp
 The little layer of tulle around the skirt of the tutu card is so adorable and oh so girly girl for this baby card.


Alma from My Cricut Side
We love this clever centerpiece.


 You can select from a variety of stylish choices:
little tutus, overalls, simple onesies and the vest with tie.
These come as either a flat fold card or easel card.


 Onesie Gift Boxes and Cards
from MyScrapChick.com


Bunny Rabbit Easel Card and Tutorial

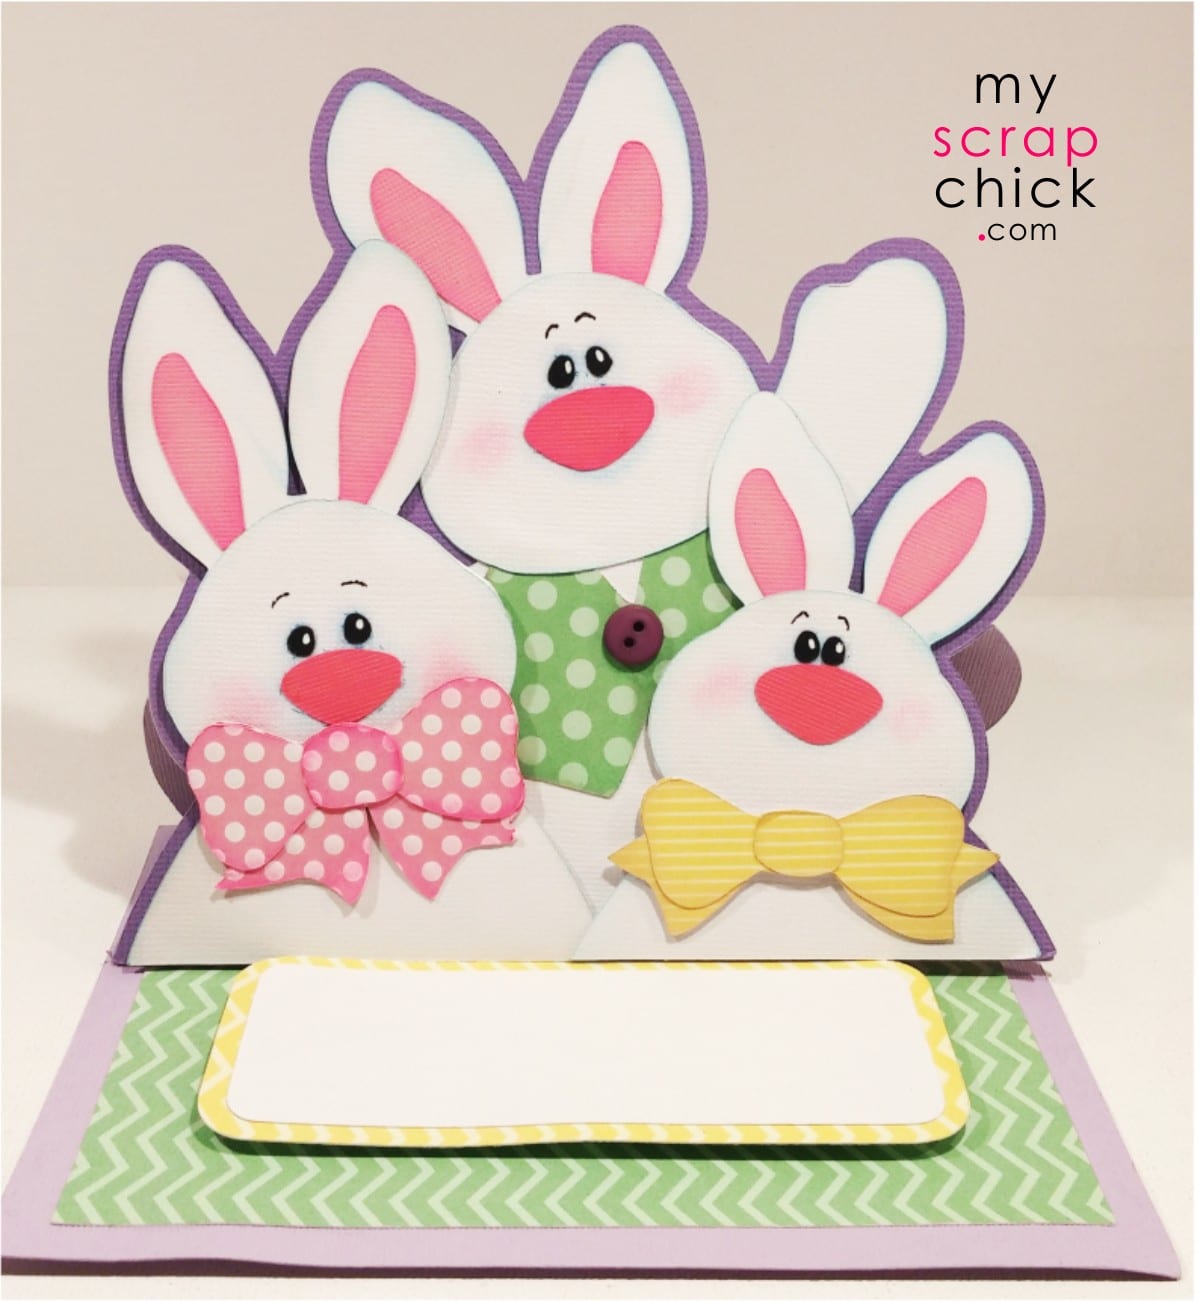
 Have fun creating these cheerful, slightly silly Bunny Rabbits for your Easter cards. They're all decked out with colorful bow ties and the guy in back has on his spiffy Easter vest with a button. Check out the tutorial below to see how quick and easy these go together.


Assembling Front of Bunny Rabbits Easel Card

 
 You will notice small dash lines on the face of each bunny. These are guides for placing the eyes and nose on each. It also makes it much easier for adding cheek blush and shading around the eyes and nose before actually gluing them on.


Bunnies are created as individuals. Glue on their eyes, noses, inner ears along with bow ties and vest. Add a real button to the vest or cut the one provided. Bows are 3 layers for 3D effect.


Once each bunny is assembled add them to the card front layer starting with the middle bunny. You will notice there is a slightly larger margin around the characters, but the bottoms of each piece will line up flush with each other.


Then add the bunny on left and lastly  the one on right.
Add pop dots to back of the 2 front bunnies for added dimension.
 

Assembling inside layers


Glue lining to inside of card leaving a slight border margin.
Then glue message layers together.


Add pop dots to back of message panel and attach to inside of card.


How to fold base of card and attach front layer.


Fold card base along score lines. Both lines will fold forward.
Add glue to bottom 1/4 of card as shown (on left) then

attach the card front, lining up along edges. (Shown on right)


Photos above show what the easel card will look like from the side and back when slightly opened.
 

Easel cards fold flat for mailing. When opened the card is folded forward and the bottom edge tucked behind the message panel.


If you like the Bunny Rabbit Easel Card you may like the
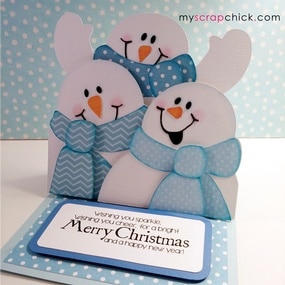
Snowman Trio too.


Card in a Box Made Easy

I don't care what the weather man says,
we're starting our spring crafting.

 
Cyndy already has spring flowers in her garden to use as
this colorful backdrop on her
Easter Chick card.
 
 
Cyndy used the Box in a Card set along with the Easter Chicks to make this cheery little spring card. 

 
 You can personalize any Box in Card  with your own embellishments, stickers, paper flowers or paper piecing characters.  This is half the fun, so go wild, or not....it’s up to you. 
 
Boxes fold flat for mailing or for storing. Each box set includes 3 different flap styles.


 Box in a Card are perfect for adding little images
and colored digis for Valentines.
 
 
Cute Little Valentines
Sarah loaded up her Box in a Card with hand colored digis.
Sarah @
Paper Tree


Ninotchka @ Parties n' Cards added her signature
felted heart to the front of her Box in a Card Valentine, then popped in some cute Valentine stickers and embellishments.


The Box in a Card designs come in 3 different size sets. A2, 5" square and 5x7. Each set includes 3 flap styles as shown. You will find a tutorial in the PDF included with the cutting files.
 
 
Enjoy and HAPPY SPRING!! Hope your local weather man is forecasting warmer weather your way.

~Valerie


7 Ideas and Inspiration for St. Patricks Day

Are you having a hard time coming up with fresh ideas to celebrate St. Patrick's Day? Today is your lucky day. Our design team came up with the following fun and whimsical ideas to celebrate the luck of the Irish.


1. Use pop up letters to make a statement. 

Tracy says "The best part about these letters is they can fold down so you can mail them or store them without taking much room at all." Visit her blog Idea Closet for details.


____________________________________________________
 

2. Use a box frame that can be changed each holiday . 

Jill says "They are easy to decorate and require little space to put on display" And if you love her glittery frame she will tell you how she made it herself. Brought to You By the Letter J.


____________________________________________________

3. Create a stunning centerpiece. 

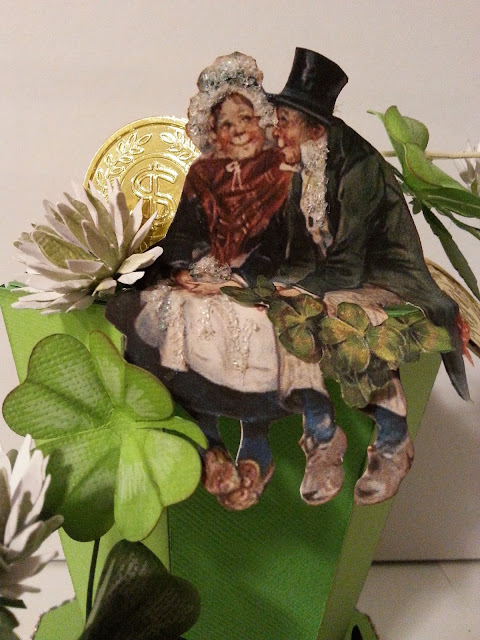
It just isn't St. Patty's Day without a good ol' Irishman's lucky hat. Els creates this magnificent display and shares step by step photos of how you can do the same at The Art of Els Schutte.


____________________________________________________
 

4. Make  little bags of treats for your social group.

Every March it is Sue's turn to host her monthly Bunco group. She says "St Patrick's is a built party theme for my decor!"  She knows even grownups like receiving treat bags filled chocolate and peanut butter goodies. Sue's Stamping Stuff.


____________________________________________________


5. Decorate your happy planner for March.

A lot of us have caught the "Planner Bug" and Shirley is no exception. So for March what better theme than Lucky Bears. She decorated her monthly planner and made a cute pocket page and bookmark. Scrappy Sam Designs.


____________________________________________________

6. Did I already say decorate your happy planner?

Yes, and like I said, we caught the bug! Why not personalize your planner with what you love. Cyndy uses her mini planner for work and made pocket pages along with inserts. She was happy to be  able to use her favorite papers from Graphic 45. Cyndy G Time Made for Me


____________________________________________________


7. Send a precious photo in a St. Patricks card.

We know grandparents, aunts and uncles would love to get a card for St. Patricks Day with photos of their favorite little people. While you are making one for them, make a second one for yourself to keep. Mel did a video (below-right) showing how she put hers together.  


Well, I know we feel very lucky and blessed to have a great group of talented designers who love sharing their inspiration and ideas. If you appreciate their talents please leave us a comment and let them know.

Straight Outta Worship

Hi! This is Debb (Clickersister) and I have today's project for you, using the "Straight Outta" line! I decided to make this shirt for hubby, since he is one of the the Worship Team leaders at our church. It's a great project and they don't take much time at all. Just follow the directions on your HTV.


Yes, I got him to model for me! We've had a very mild winter so far this year, and we were able to get out and take a walk! Thanks for stopping by today!

~ Debb

This is my Happy Place.

Happy March Everyone!  This is Jill Cornelius again, and I'm excited to share with you another project that I created for My Scrap Chick!


Have you ever made a project for yourself that you just LOVE?

Of course you have (and so have I!) ...but you know what....I absolutely LOVE this project that I created for My Scrap Chick!
I usually don't make projects for myself...but you know what?  I think I'm going to keep this one!

Because....THIS is my Happy Place!  And I have the PERFECT place to hang this! My Scrapbook Room!


Isn't it pretty!

The entire project is made with only THREE different SVG files from My Scrap Chick.  The Pop Up Frames from My Scrap Chick include everything you need to create a Pop Up Frame.  Even an easel for the back.  My Frame actually has a LOT of pop dots between the layers so that each layer is truly set apart from the one underneath it. Also, Since I wanted the top three layers of my frame to be truly set apart from the base, I added a few layers of chipboard strips that are hidden around the frame on the underside.  This allowed me to add the gemstones and the Wordart to the frame and give it more of a Shadowbox feel.

I'll have a direct link to each SVG File at My Scrap Chick down below so that you can add them to your shopping cart easier!  But first, here are some up close photos!

Each flower consists of six layers, two of each petal size. They are super easy to cut out, ink and then stack.  I added a little bit of Diamond Glaze to the back of each to make them a little bit "stiffer" to mold.

 For the centers of each flower, the SVG files also contain a "dot" that resizes to fit your flower.  The larger you make the flower, the larger the center is cut out.  That's what I LOVE about SVG files...enlarge one part and it enlarges them all!  No guessing!  For my flowers I chose to use Black Stickles for the larger Bright Pink Flowers, and paper or the Smaller Light Pink Blossoms. 


The saying, "This is my Happy Place" just fits for my scrapbook room!  It most definitely IS my happy place...especially when it's clean, which isn't always the case. But even when it's messy I'm still happy.  This is the ONE room in the house that just makes everything all better! 


Here's another up close photo of the flowers.  For these I only layered four of the six petal layers because I wanted them to be smaller "blossoms". 


GOOD!  You've made it this far!

As promised!  Here are the direct links to each of the files that I used from My Scrap Chick

 
Graceful Scrolls

 
Rose

 
This is my Happy Place

I hope you enjoyed my project! Come by my own personal blog (Brought to you by the Letter J if you have a chance...you never know when i'll be posting additional projects.  

And here's a hint for my next project....it's square, and it's green....and it has bears!  

See you soon!

Jill